(29 low res pics loading)
FEB 4 2005

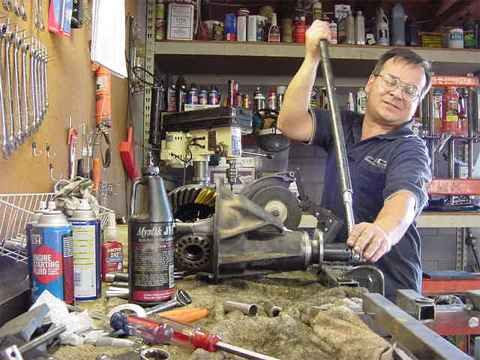
Buddy needed to keep his daily driver running so I found a good spare 3rd laying around, a master install kit with Timken bearings, solid collar, and a new 571 US GEAR ring/pinion.
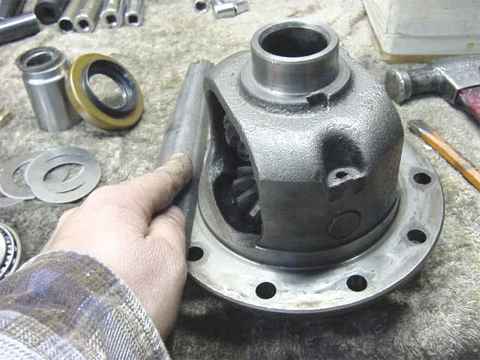
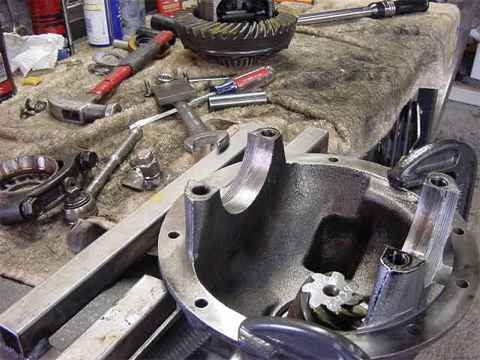
The first step is to teardown and clean the old 3rd....mark and remove the carrier bearing caps. Remove the carrier. Removing the carrier bearings is quite simple with the right kind of puller. This puller is absolutely the best for speed and simplicity.
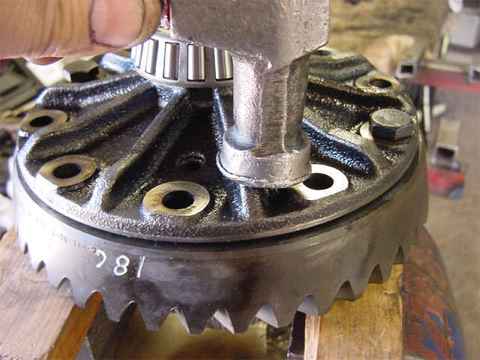
I'm using a chisel/hammer to tap off the ring gear.
I quickly ran a file around the ring gear surface to remove any highspots/burrs. This one was very smooth.
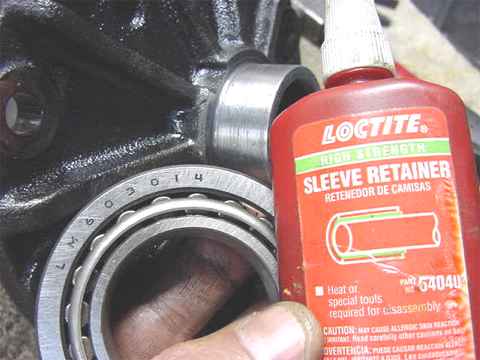
The brand new carrier bearings slipped on much too easy. Some techs might use a prick punch to crater the surface in an attempt to make the bearing a tight fit. To make sure the bearing does not 'spin' I like to use a sleeve retainer compound. This stuff is over $20 a bottle but with so many "not so tight" bearing fits, this stuff is gold.
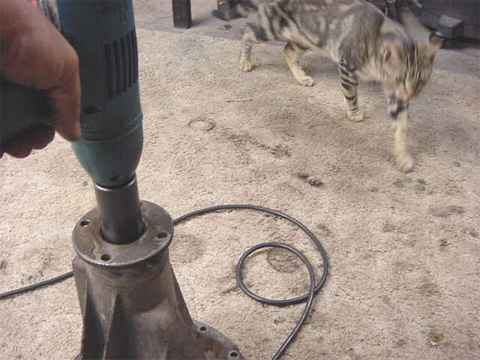
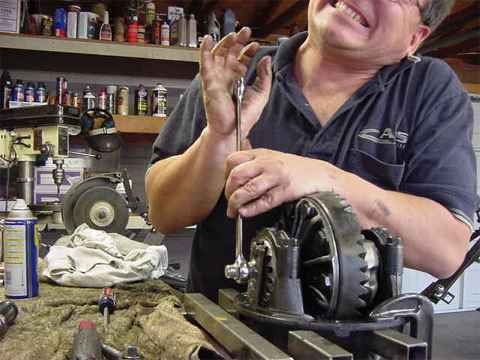
Time to break down the other half....using an electric impact made quick work of the 30mm pinion nut.

I might re-use the thick pinion shim so using the bearing separator, I easily pressed off the bearing with my 10 ton press (not shown).
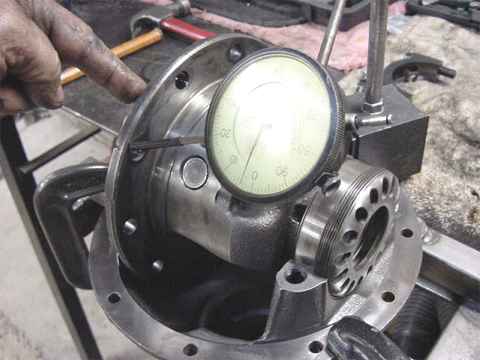
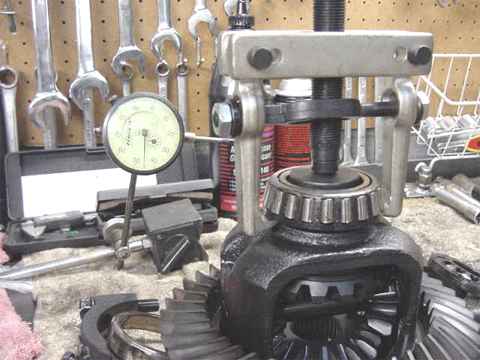
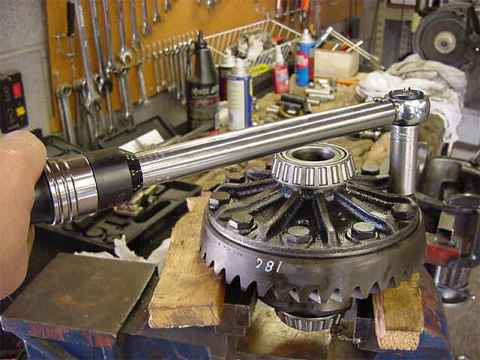
Before bolting the ring on, I figure this is a good time to verify run-out. I measured less than 1 thou. Good.
checking run-out in the other plane.....about 1 micron. ;)
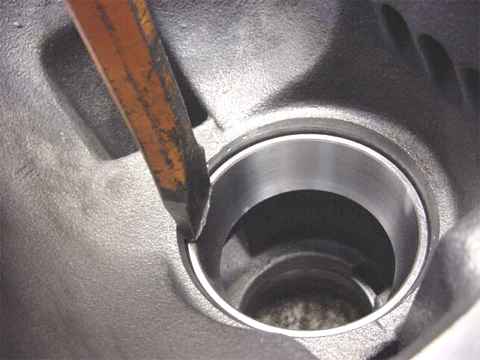
carefully soft chisel the new races in place. This larger inner race is the tough one to get started straight....
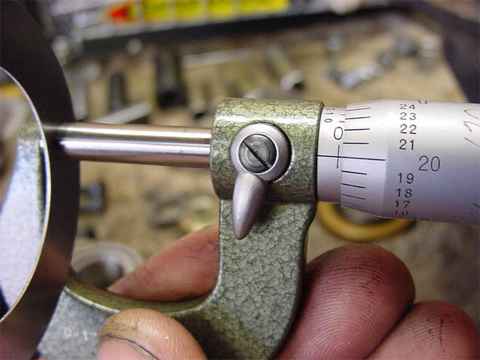
Measuring shim stock, I prefer micrometers (with the ratchet clutch) for the accuracy.
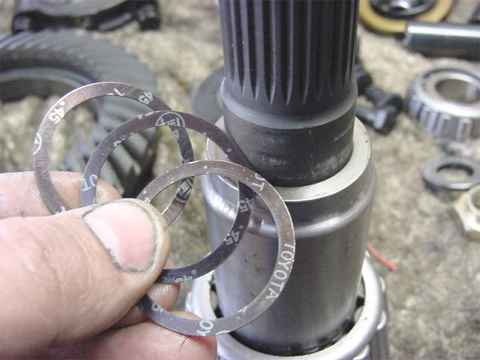
I chose .100" for pinion depth and pressed on the bearing.....you can see the solid collar on the bearing and in my hand is .054" worth of collar shims used to set pinion pre-load. Past experience with new bearings has shown this value to get very close in the ballpark.
Before I take a pinion torque reading, I soak both bearings in gear oil. It won't work dry.
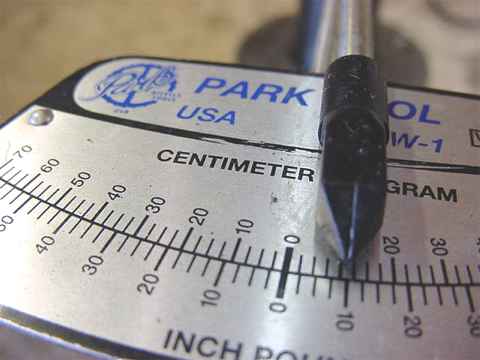
Right on the money.....a nice smooth 10 in/lb.
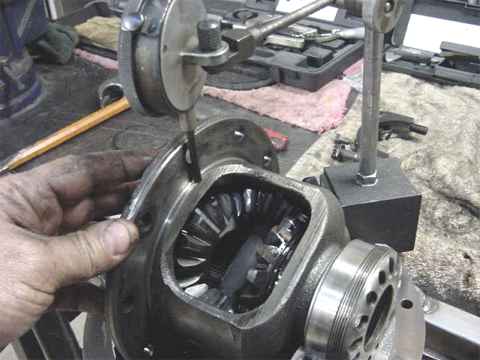
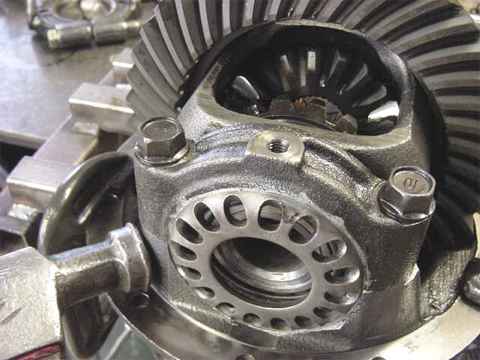
Now it's time to load the ring gear up.....never had to "boil" my ring gears....just used a little common sense and some gentle coaxing.
Toyota ring bolts don't have a history of falling out like some other Dana axles but I still always use the blue stuff and 70 ft/lbs of torque.
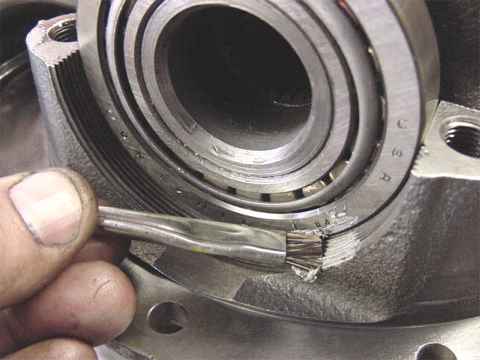
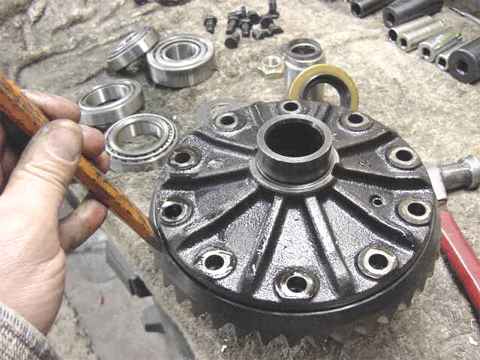
I have found that anti-seize compound works outstanding on the carrier bearing adjuster threads.
The screwdriver method will not do the job.....
This is much better. For the final set, I use a real torque wrench and 88 ft/lbs in this case.
Sometimes I rap the hell out of it in this general area.....it allows the bearings to "find their set".
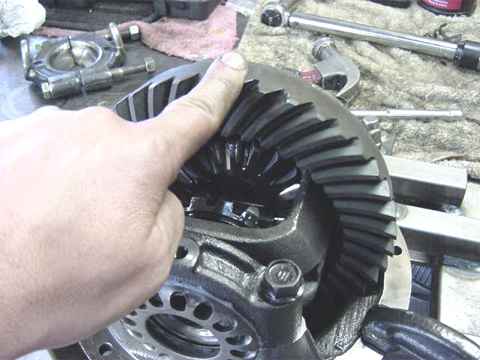
the ZUK finger test......if I can detect any backlash (left-right motion) then the carrier bearing pre-load is way too light.
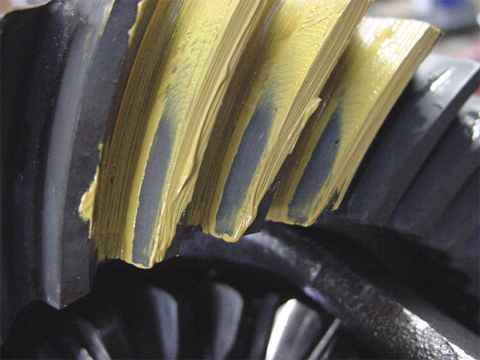
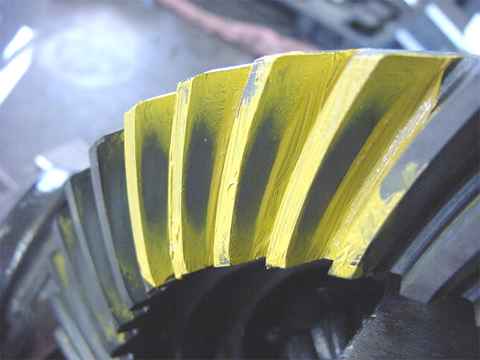
Painting a couple teeth and using a large screwdriver to act as a strong resistance on the ring. This will give a very clear pattern impression. Here's the drive side with .100" shim depth and .006" backlash. I read this as a little too deep and too hard on the tow side. I will remove 3 or 4 thou from the depth.....the pattern will also shift towards the heel a little.

coast side .100"
A complete teardown is involved in changing the pinion depth shim.....
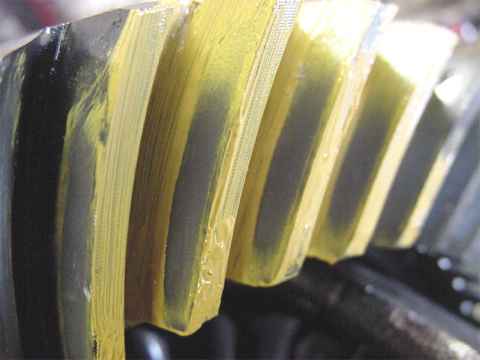
beautiful.....drive side .096" depth
coast
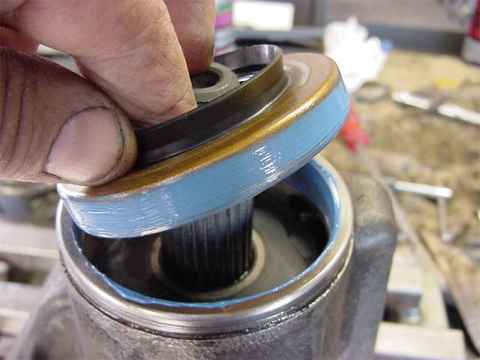
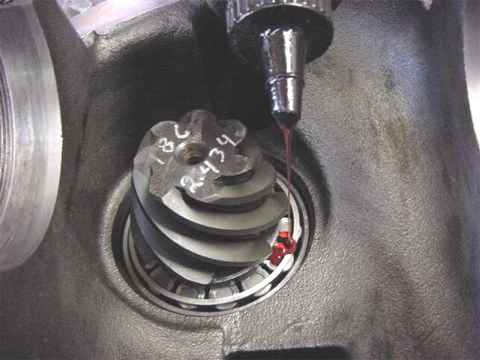
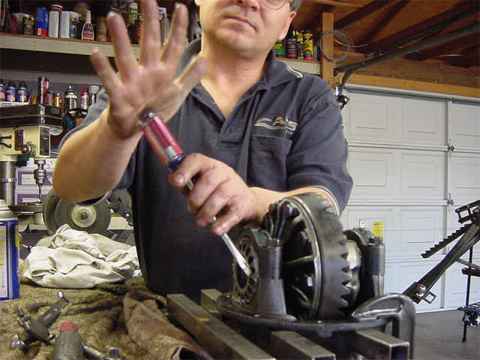
I like to use a little Ultra-Blue RTV.....
I used my electric impact to tighten up the pinion nut. I was able to get it even a little tighter with the 3 foot bar shown here. Not shown but blue Loctite is on the threads.
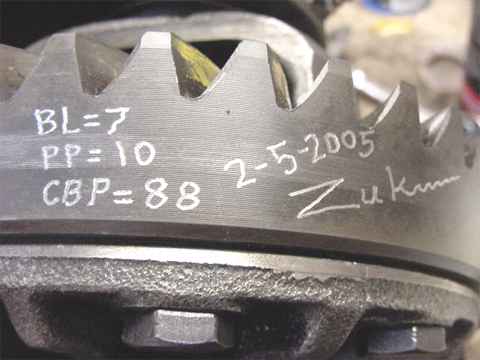
The final step...to actually document/datecode the final values on the ring gear. I took my time with this install (almost 6 hours including preparation and cleaning). This 571 install is set very strong. It will run very quiet also. If something breaks, it won't be the ring and pinion.