(24 low res pics loading)
May 27 2004
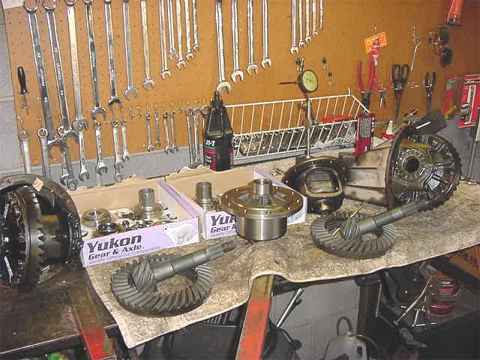
While down in Tucson, Chris cornered me and dropped two 3rd members/2 master kits/2 solid collars/Detroit Soft/Detroit EZ in the back of my 4Runner....and here they are. I like it when somebody gets the right stuff. :)
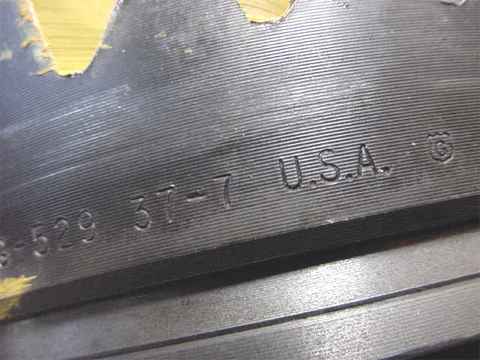
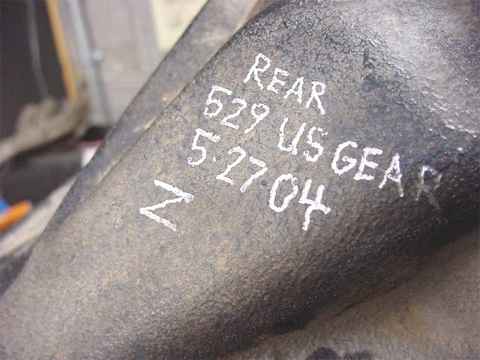
I know when Chris called Randys that he insisted on US GEAR. The tech was able to verify that he would indeed be sending out the US GEAR name. Although this worked out for Chris, not all the time is this possible.....sometimes maybe Precision is all that's available...or Motive, etc. But due to the extreme popularity of the 529 ratio, most of the time it's gonna end up being US GEAR.

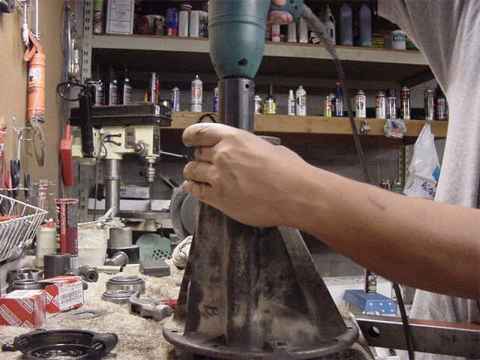
I decided to do the rear first so here I'm loading the ring gear onto the Detroit SoftLocker....I never found a need to boil my ring gears to fit....they seem to load up just fine....sometimes a rubber mallet helped out. I already filed the surfaces smooth to remove any burrs and high spots that could add to run-out.
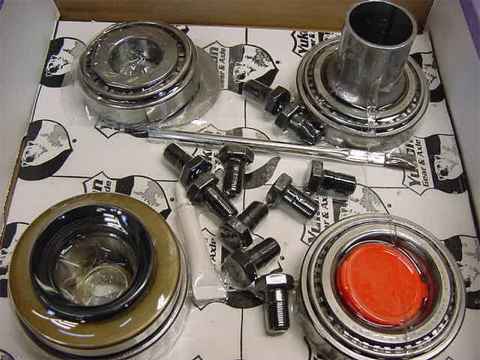
A master kit runs about $100....if you ever priced just the 4 bearings alone they run over the 100 mark easily. The crush sleeve is good for scrap metal in my book but the pinion seal, shims, marking paint, and ring gear bolts are all welcome.

I applied blue LocTite to the new ring gear bolts and tightened them up to 70 ft/lb. A press could have been used but I chose this method.
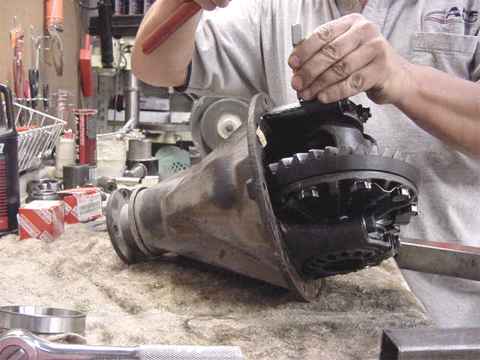
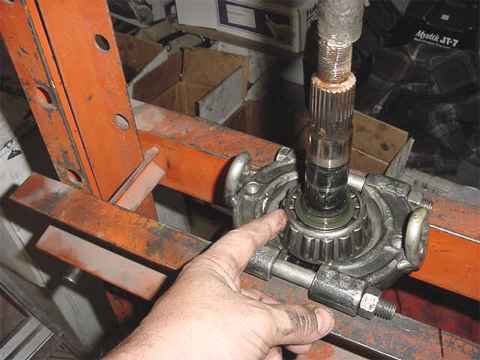
Next, I need to install the new 529 pinion so I need to tear 3rd down all the way. I start by marking the bearing caps so I don't mix them upon re-assembly.
The electric impact and the 30mm (1 3/16") impact socket made quick work of the pinion nut. They all come off even if staked down. The yoke tapped off with a small hammer but the 10 ton press was gently used to push the pinion out.
I wanted to re-use the old pinion shim so I had to press the bearing off. I used a small worn-out grinding wheel to change the shape of the "dishes" on the bearing separator.....that way, the bearing cage does not get all torn up when trying to remove/re-use a bearing. I have new bearings from Chris but these can be re-used on an "emergency" install sometime in the future.
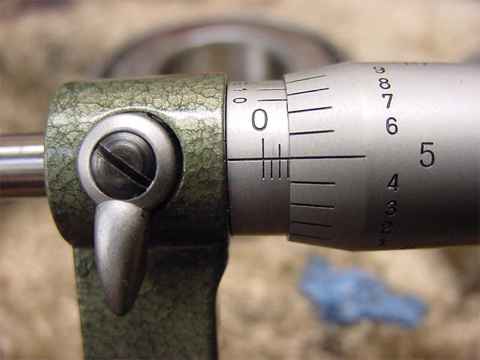
The Toyota factory shim measured at 80 thou on my micrometers. Sure is nice having a digital camera that can get 1" from the action :) (Sony Mavica 85 with floppy disc storage)
Pressing in new main race.....
tapping in the front pinion race.....then I use a soft chisel to verify the races are truly seated. When the race is truly seated, the chisel will try to jump out of your hand when hammered.

I used the factory .080" shim plus another .020" for my first try.
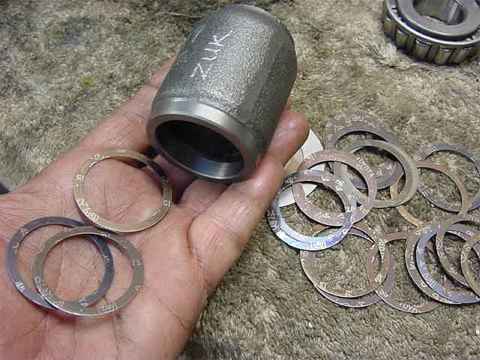
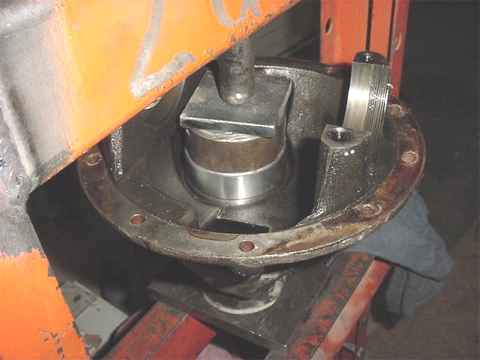
Ready to shim up the solid collar.....usually this involves about 4 tries....but I got lucky.....my 1st try with .054" worth of shim gave me good pre-load.
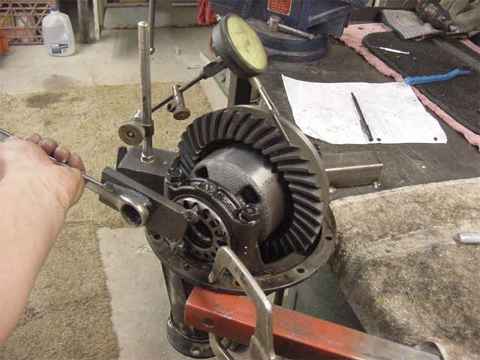
Now to put the rest together so I can get my first paint pattern. I had to maintain some backlash while cranking the carrier bearings tight and also tighten the cap bolts to spec.
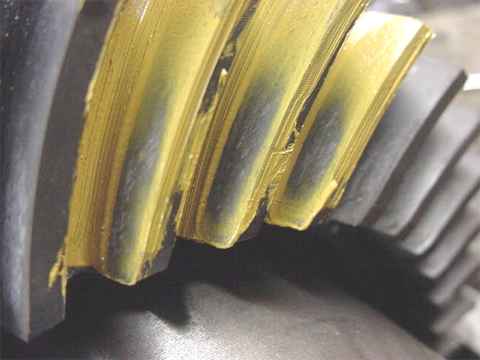
Bingo. This is the drive side with .100" shim. This is good. The backlash here is only .004".......
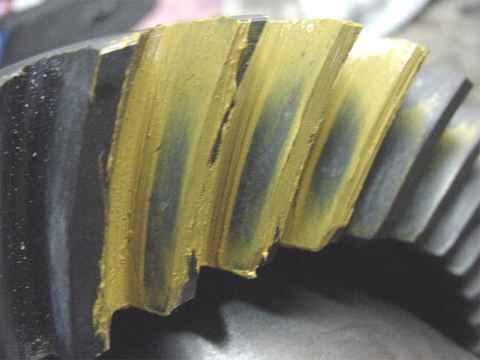
I opened up BL to .009" and not a whole lot of change. Per the orientation of the above pic, more BL means the pattern goes UP a little but it does not change the "shape" of the pattern. The "shape" is a function of the pinion shim....the pinion shim determines how deep or how shallow (left to right in the above pic) the ring gear contact is. I'm purposely keeping the terms very simple.
Something to remember......going deep on the ring tooth pattern means it's shallow on the pinion tooth means the edges of the pinion teeth are being strained. KaBoom. Go shallow on the ring gear means the ring gear teeth see the strain.....that's why proper depth is so important to both sets of teeth.
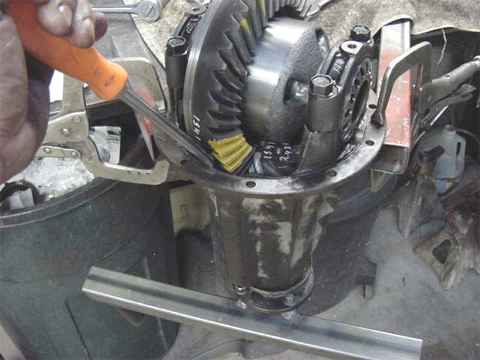
Getting ready to run a paint on the coast side. I wedge a large screwdriver in there to offer some resistance to get a good paint. Carrier bearings have to be set tight to prevent any ring gear deflection.
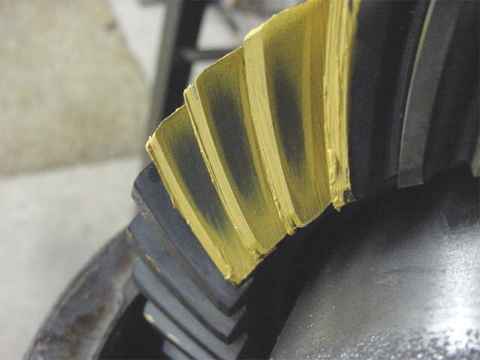
Nice pattern on coast.
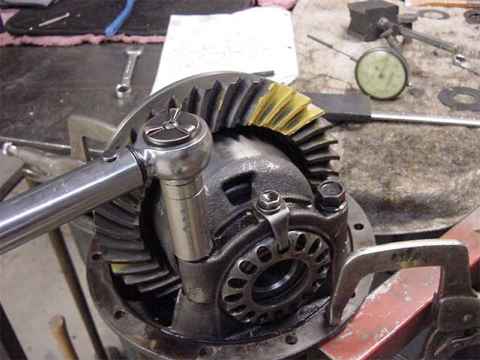
I re-set the BL to .007"....I probably put about 40 ft/lbs of torque on those carrier bearings....but that's what they want to see. The bearing cap bolts were tightened to the usual 70 ft/lb. I know that a lot of installs are done with lightly snugged bearings.....that leads to ring gear deflections then to BOOM...blame the ring and pinion.
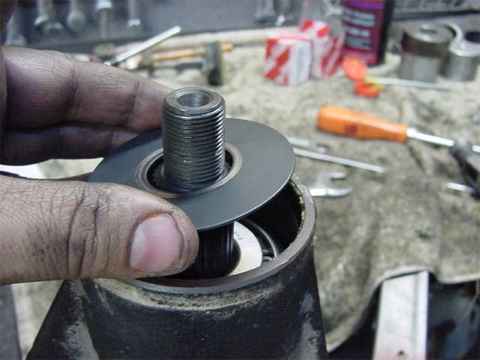
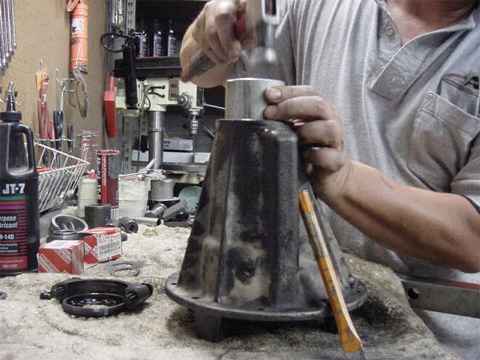
Don't forget the splashguard.
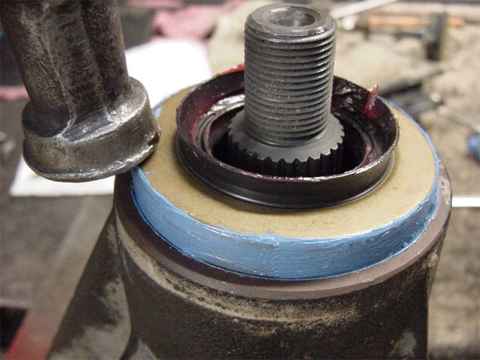
I prefer to use some UltraBlue RTV on the steel lip......and red grease on the rubber seal. A hammer can be used to tap the seal on but be cautious to not dent/cave-in the metal portion.
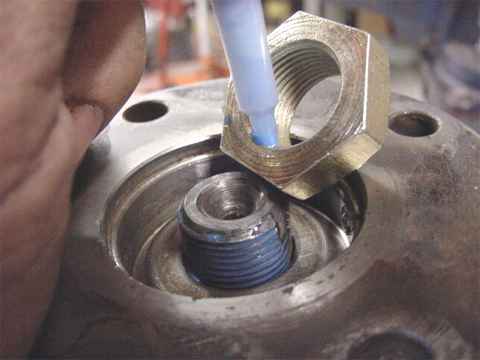
LocTite on the fresh nut.
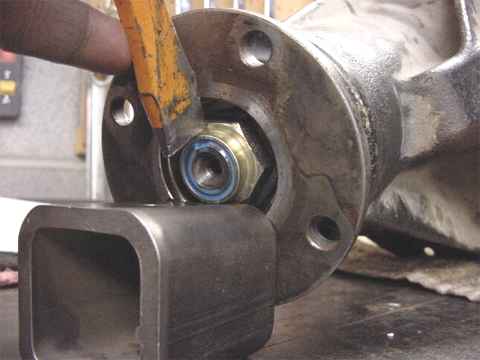
I held the electric on the nut for about 10 seconds....tight. I still elected to stake it even though I had the blue stuff on it.
Done. swish swish swish. Zorro.