(24 low res pics loading)
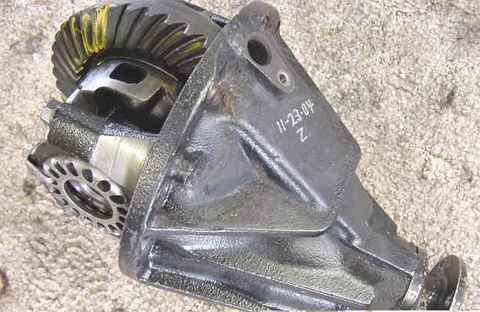
NOV 23 2004
As received....apparently it ran low on oil....only 1/2 cup drained out I am told. The bearings are shot and the ring gear has major abrasion marks. I ordered a new 4.56 Yukon r/p and master kit from Randys. Ordered on Wed and had it Monday eve.
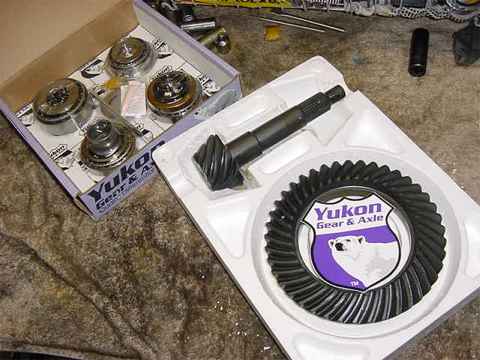
I don't have any close up shots of the etchings on the ring gear but I did not recognize them. Never the less, the r/p seemed to be hi-quality by visual. Setting up a '4 cylinder' ring/pinion(79~85 applications) into a V6 3rd(88~95) is easy.....just that the shim behind the pinion head has to grow a little. Requires approximately .145 MORE shim than the typical .100 for a total shim thickness of about .243 (my math is bad). That adds up to alot of shim behind the pinion head....but there are ways to "spread the shims around" as will be shown.
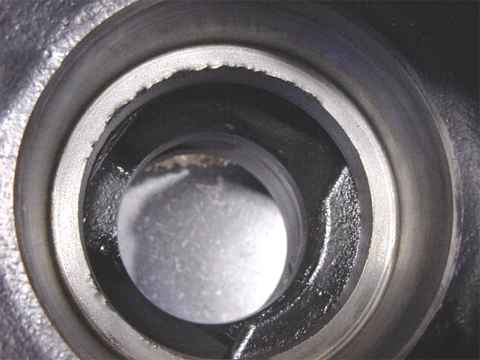
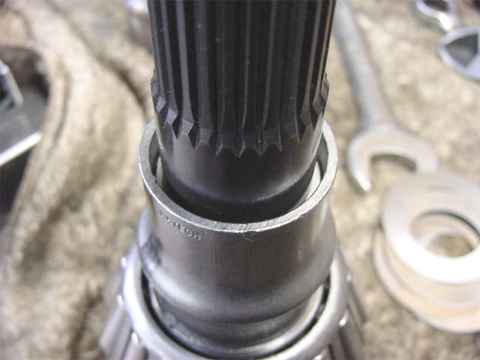
This V6 housing did not have the safety cut-outs that all the 4 cylinder versions do......so when trying to chisel out the old bearing cups, it's easy to chinger the surfaces as shown. Those surfaces must be leveled again somehow whether it be a flat punch/sanding/dremel/filing.
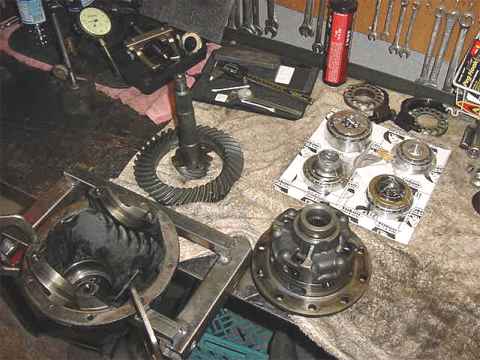
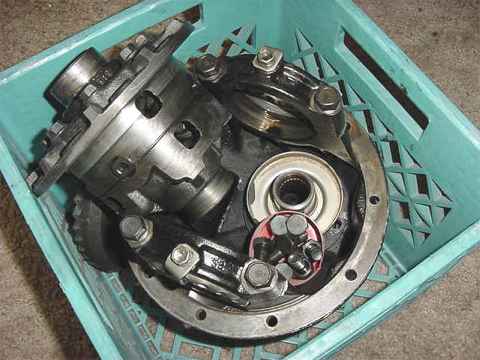
Everything is layed out....mostly cleaned and inspected.
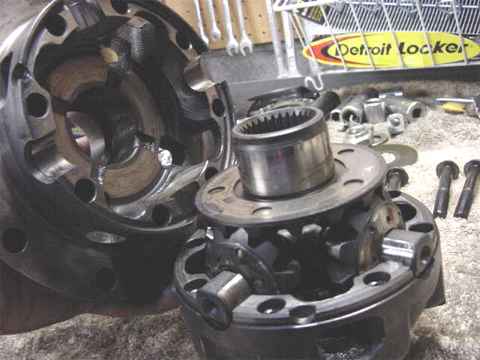
The factory 4-pinion open diff was taken apart and inspected due to the low oil condition. All looked very good.
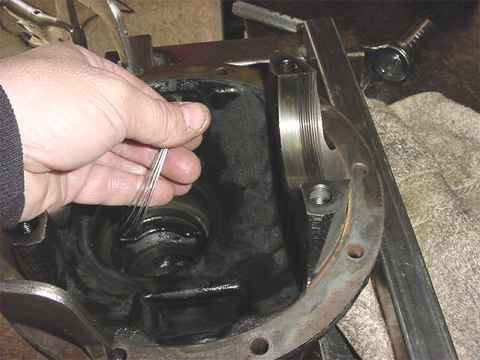
Now here's the trick. Included in the master kit is a stack of much larger shims designed to fit nicely behind the main pinion bearing cup. Using a stack of them here relieves the need for the whole .243 behind the pinion head. Here in the pic, I have .085" which means I will place only .158" behind the pinion. A 'side effect' of such a shim behind the cup is that the crush sleeve will not work right unless it has a shim added to it as shown later.
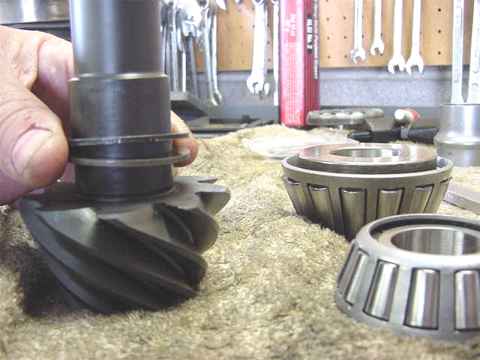
I like using a soft punch....one that is not close to the hardness of the bearing cup....that way, no damage or nicks occur to the cup. Brass punches flake too much for this application.
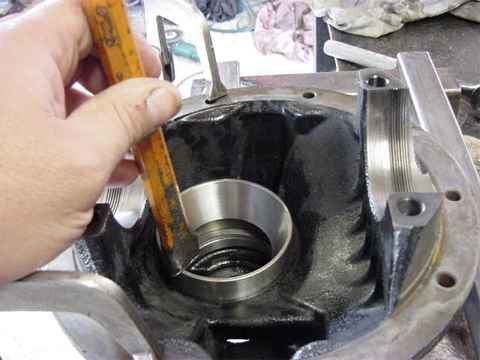
I had 2 thick shims on hand that put me at .155".
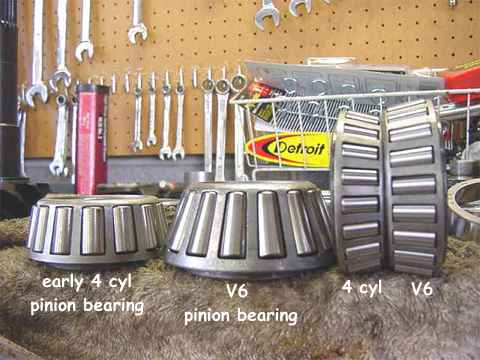
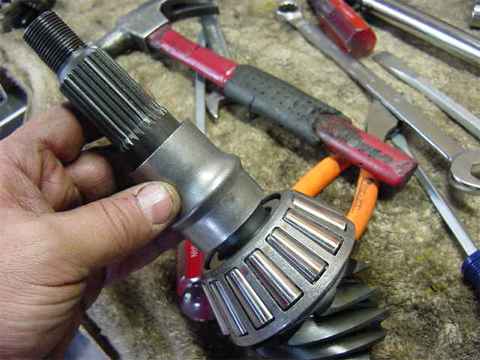
Just comparing how much bigger the V6 bearings are. The V6 pinion bearing is a monster. Not shown but the V6 pinion bearing dwarfs even the one on the imfamous Dana 60. The 2 bearings on the right are carrier bearings. A properly tightened up large carrier bearing is best for minimal ring deflections.....and that's where the strength really is.
The surface was filed flat to minimize run-out...ring gear bolted on with loctite and 70 ft-lb.
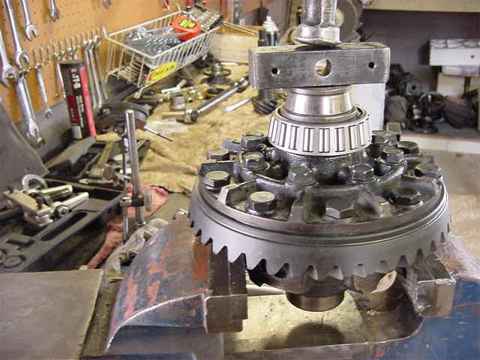
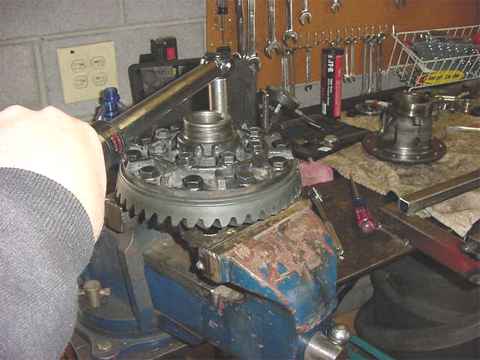
The carrier bearings were tapped on with a pissed-off hammer. In the pic, the ring gear teeth are NOT in direct contact with the steel vice.

With the carrier bearings on...carrier inside the 3rd....carrier bearings real tight and 7 thou backlash....I ran the pattern and it's too deep.
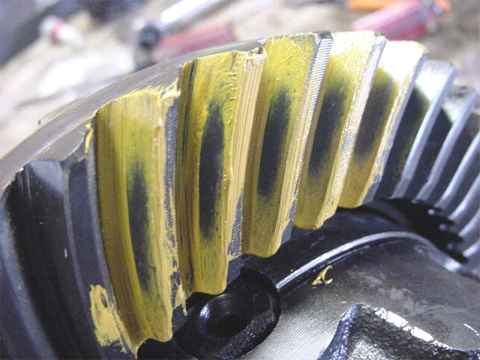
Tear it back down...remove .010" from behind the pinion head and this is dead nuts right on zingo bingo(total shim thickness final=.230").
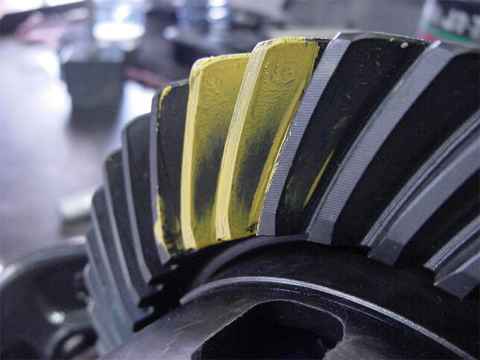
coast side is good.
Owner of this 3rd requested a crush sleeve which meant one more teardown to actually install the crush on the shaft.
I just don't care for the loose fit(side to side)....
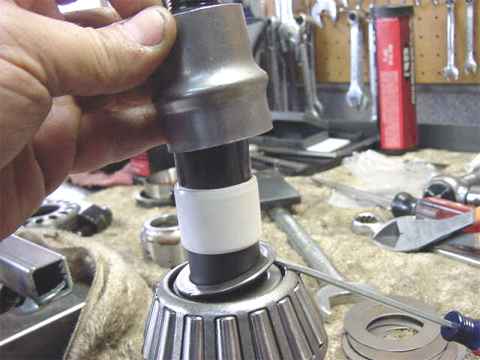
A nice thick black rubber o-ring would probably work 'cleaner' but I wanted something to center that crush properly....so I used 11 wraps of clean-room tape. Yes, the heat on the pinion shaft will likely destroy the tape....but it just needs to center it for the actual crush for me.
The small screwdriver is showing the extra thick shim that was added to offset the effect of the 'pinion cup shim'.
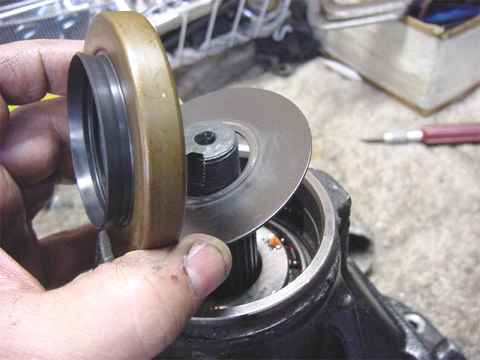
last steps....install the splash shield. Then the pinion seal. Grease on the rubber to prevent dry start-up.
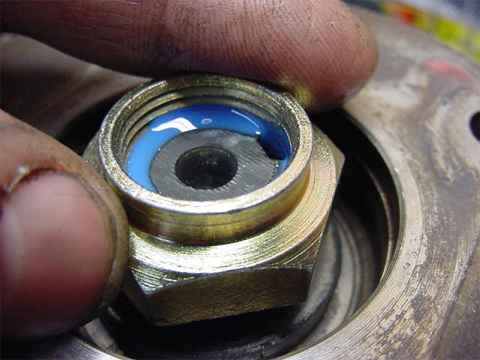
Clean threads and Loctite on the new nut.

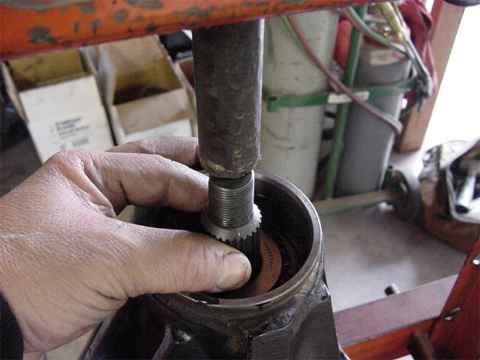
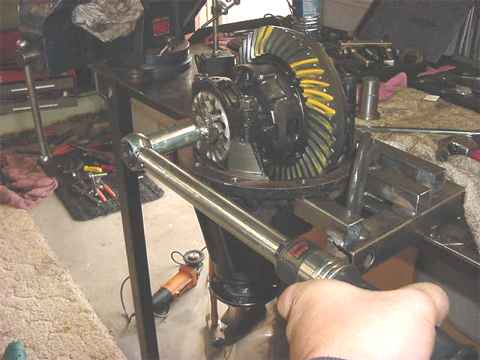
pic of my method used to secure the yoke while crushing the collar....
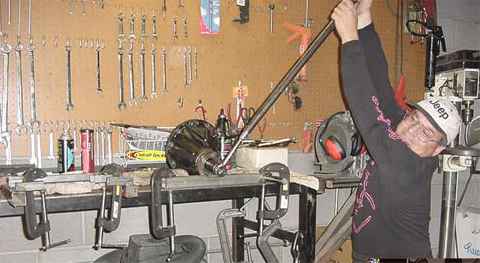
Leverage is your friend.
With the bearings caps about 1/4 turn loose, run the CB pre-load up to about 75 ft-lb while maintaining the .007" backlash. Sometimes, the tightening of the cap bolts or the rapping with the hammer near the bearing cups (to shock the cups into a natural position) is enough to cause the BL to change so some tweaking is needed again.