(26 low res pics loading)
JUNE 16 2004
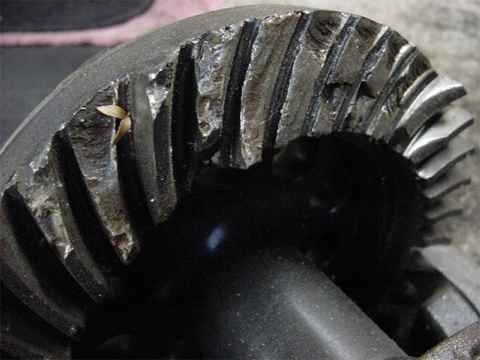
Kyron was on a night run up Axle Alley in Florence, AZ and got himself into a bad spot where the rear tires were tightly wedged......too much throttle in reverse led to a BIG noise from the rear diff. Probably 1 or 2 teeth shattered right there but 70 miles on a tugstrap back to the house definately finished off a few more.

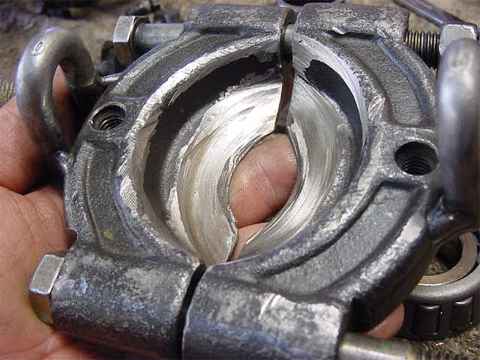
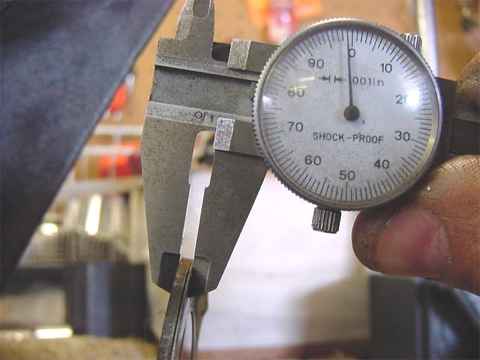
The plan was to keep the costs down......check the bearings and re-use if possible...use US GEAR brand ring/pinions with a solid collar......and to see if the Yukon spool survived the 70 mile ride. I removed the ring gear and used the dial indicator to check spool run-out. There were a couple of cosmetic "dings" in the spool and there was one spot where the run-out was at 2 thou....so the spool was OK. The 70 mile ride home on a strap....on the highway....was a symphany of BAMS and BANGS with a couple of actual wheel lock-ups. Glad I wasn't on that E ticket ride. But the Yukon spool took it all.
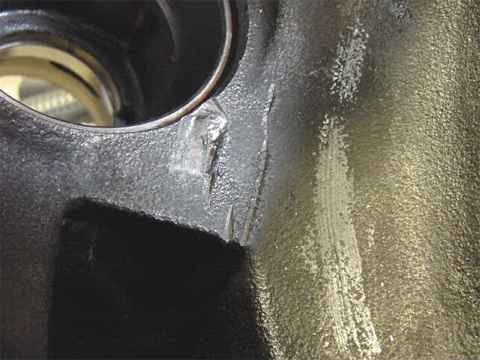
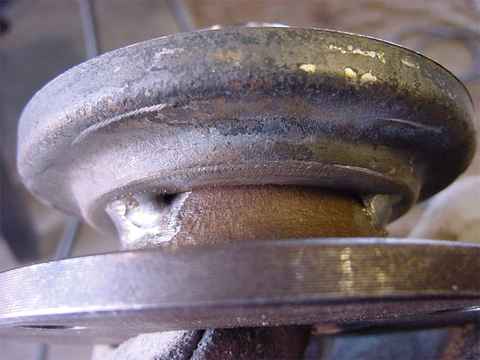
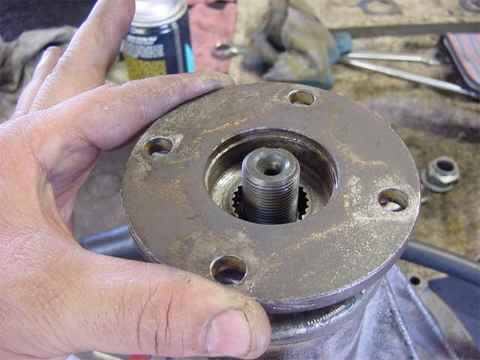
scruff marks and dings in the diff.
The large pinion bearing was not re-usable so I found an 'ok' set. Here I am knocking out the old cup.

I wanted to re-use that thick pinion shim so I had to press the bearing off.
This is my bearing separator....it has served me well in recent years. I have had to use the grinder on the dish surfaces for clearancing to prevent damage to the bearing cages.
For what it's worth, the original pinion was shimmed to 98~99 thou.
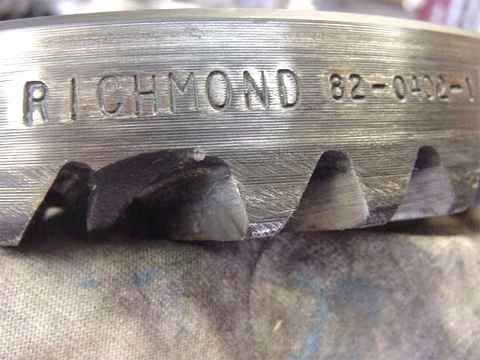
typical Richmond :)
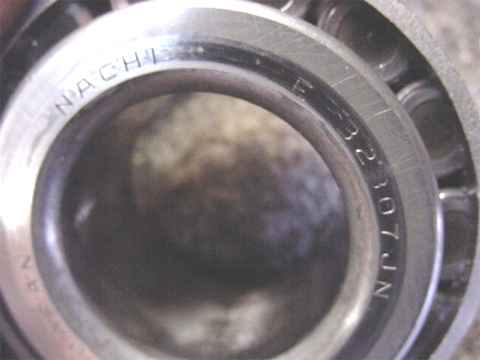
Inner pinion bearing part number E 32307JN by Nachi

Pinion loaded up ready for pinion pre-load adjustment. .106 for the pinion depth starter shim. The solid collar has .048" on top of it.
The dust shield kinda fell off. Somehow it lost it's press fit but that was easily fixable. With the pinion nut tight, the pre-load checked in a little low but good enough for the 1st paint.
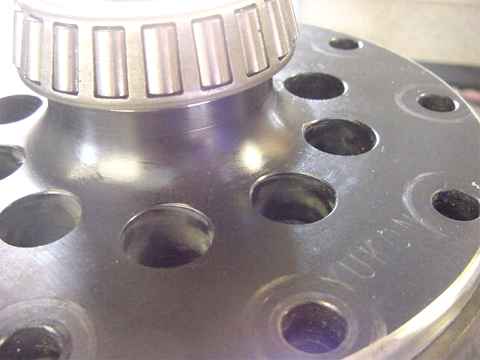
The Yukon spool is a nice piece of work.

Carrier bearing PN used on the spool.....LM603014 (Timken)

With the spool in and the carrier bearings cranked tight and maintaining proper backlash....this is the drive side using .106" for the 1st shim. Good.
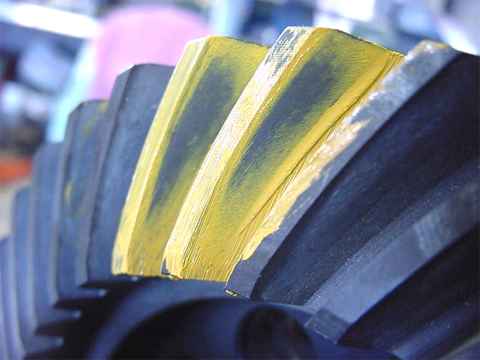
Coast side.
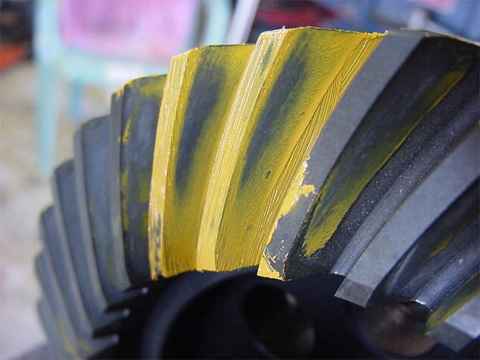
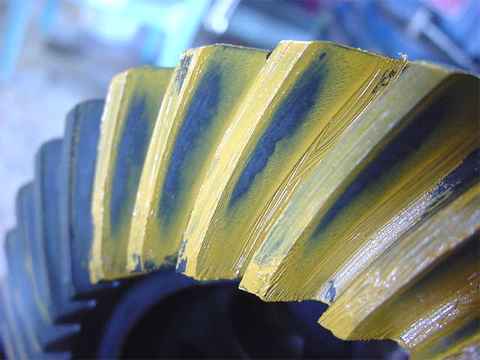
drive side now .108"
I wanted to play with the coast side pattern a little so I re-shimmed it 2 thou DEEPER(.108"). At the same time, I tweaked the pinion pre-load by removing 2 thou from the solid collar pack(new value=.046"). That gave me about 8 in/lb as measured by my TW-1 torque wrench. This is a good number for used pinion bearings.
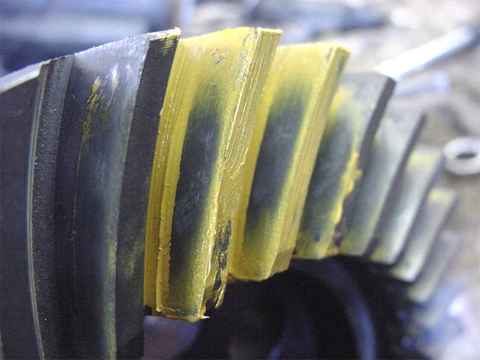
Coast.
I cared even less for this contact pattern....
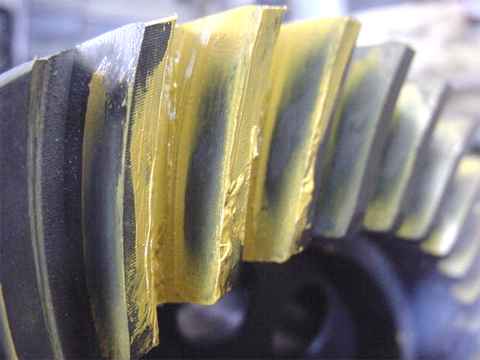
....so I re-shimmed to .103" here....drive side.
coast....seems to be the best balance for both drive and coast at this point.
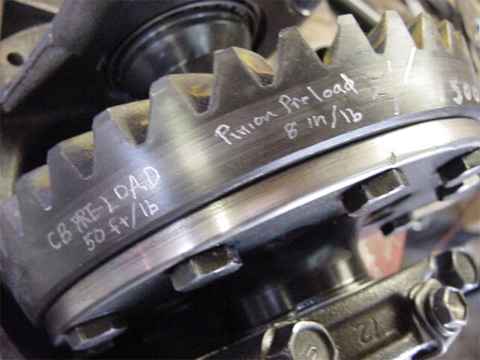
Don't ya wish the shops would share some of the data with the customer? Maybe dremel the settings on the ring....or maybe generate a web-link.
Don't forget the splashguard....if it has one.
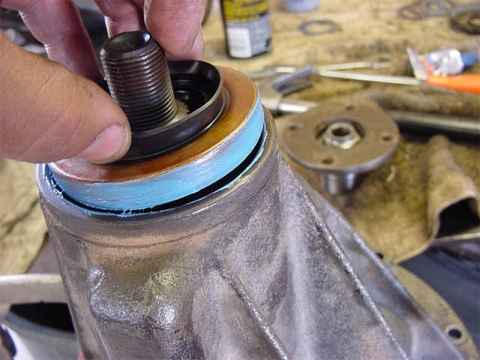
I put some Ultra-Blue RTV on.....helps the seal....seal.
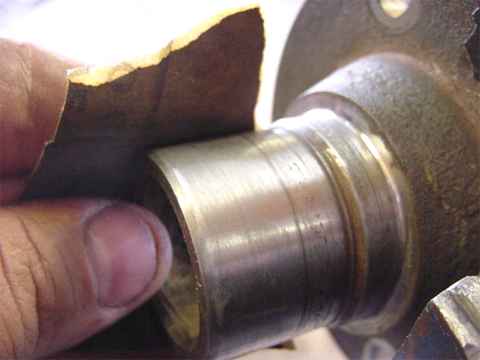
I used some wet/dry 600 paper on the flange seal surface.
I tacked the dust/mud guard in place with the MIG.
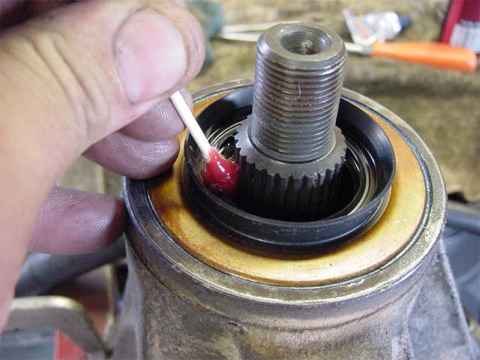
Grease the seal lip to prevent dry start-up.
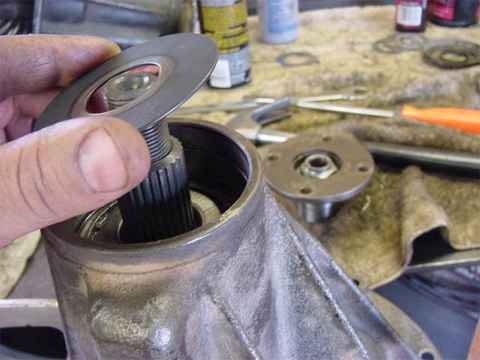
I was getting ready to do the final step and put the nut on when I noticed the flange splines were a sloppy fit on the pinion. A new one is on its way from Marlin Crawler now.
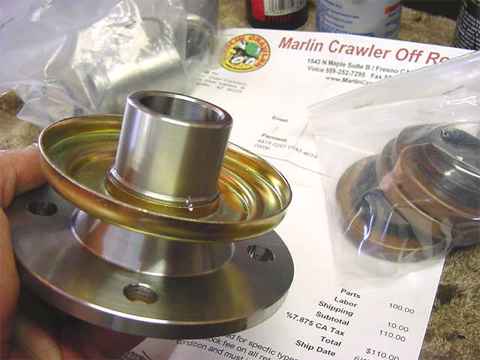
4 working days later, Marlin sends this new flange.

Use of blue Loctite and 200 ft/lbs. on the pinion nut.....ready to go.