"V6" gears into a "4 cyl" third
(39 low res pics loading)
November 11 2003
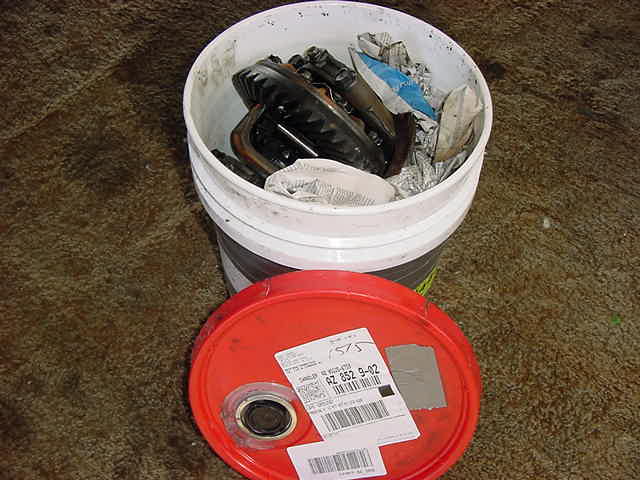
As received from Tommy.....56 pounds worth of early model 4 cyl third.
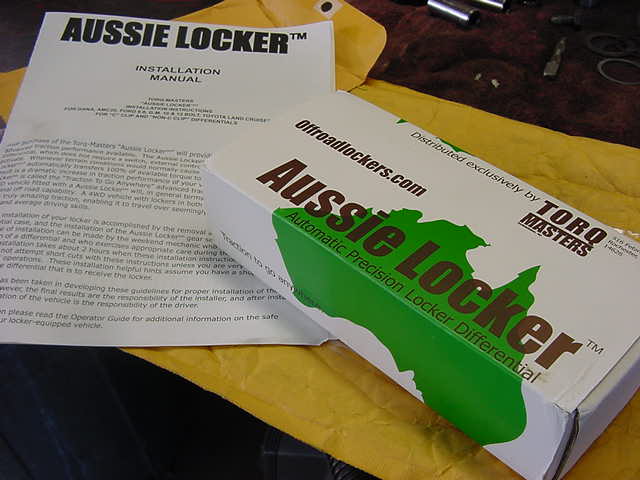
Also installing an Aussie Locker.
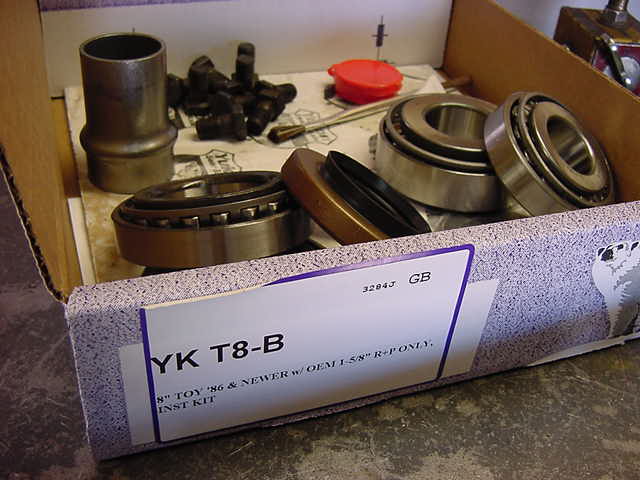
86~95 install kit.
Best gear for the Toyotas.....US GEAR brand.
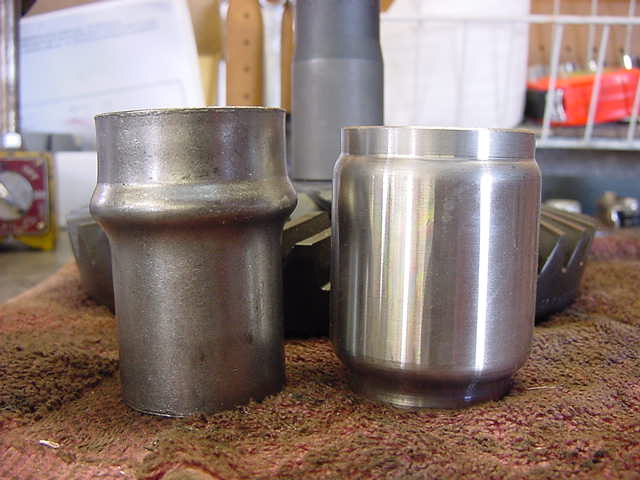
Comparison of the cheapie crush sleeve on the left to the
solid sleeve. Solid is the way to go.
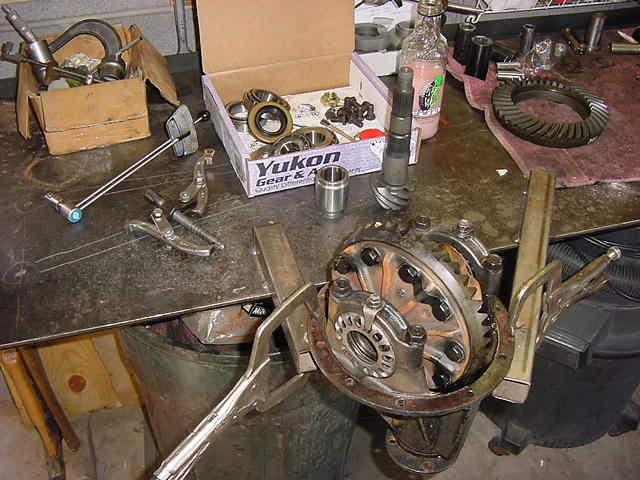
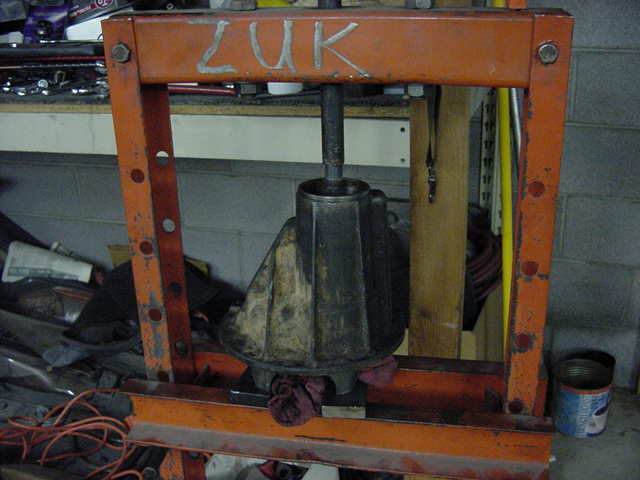
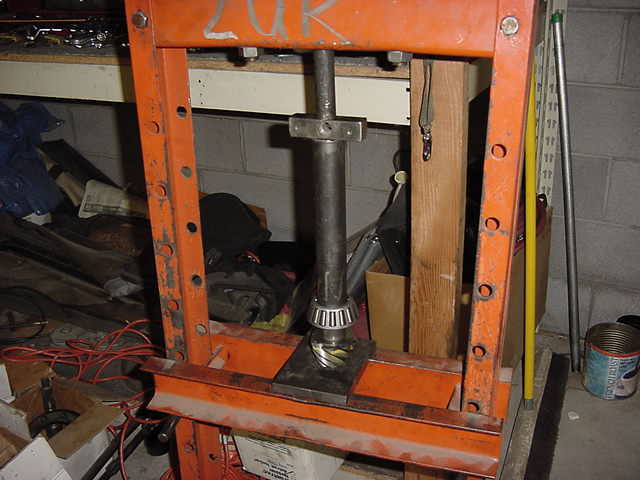
What's nice about the Yota thirds is how easy they are to work
on. My method of holding it is also very simple.
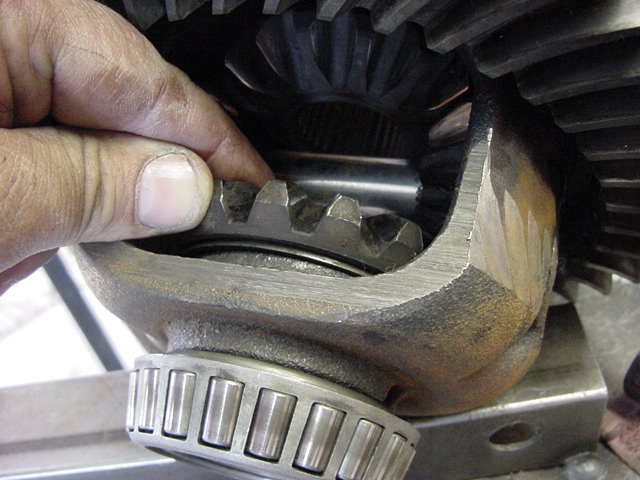
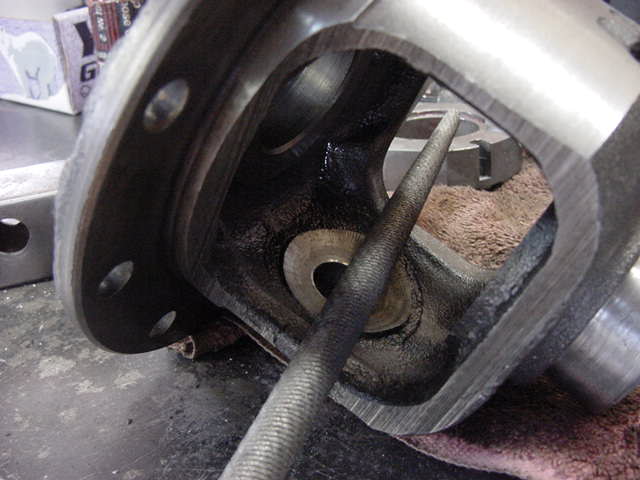
The pinion shaft was so loose that it was contacting the carrier.
See the gap between the shim and the bearing? I was told that the
front of the driveshaft hit the ground while in motion but I'm still
not sure how that caused this.
You can't see it but I sure could see the sideplay in these gears.
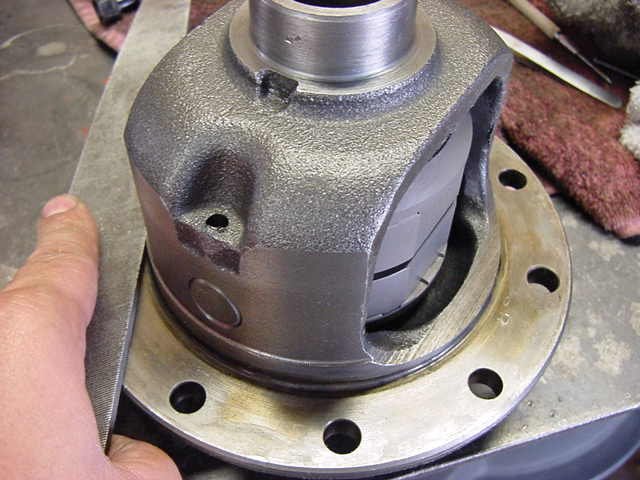
The case has been "wallowed out". The Aussie Locker won't like that
kind of play so I substituted a good case I had laying around.

This is my inexpensive set-up for pulling the carrier bearings.
The 2-jaw puller is a standard forged unit. I re-ground/clearanced
the gripping fingers such that the bearing cage does not see any damaged.
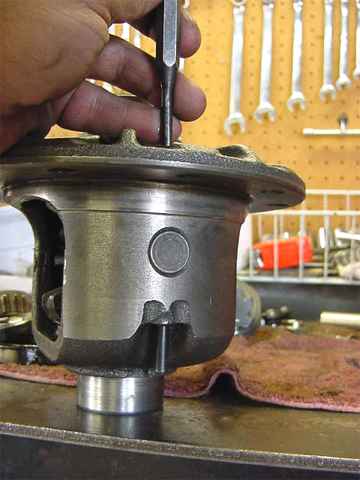
The roll pin wanted to come out only 1 way....this way.
Must have been a lip inside. The punch made easy work of it.
The Locker would not slide in due to the case having some raised rough edges.
This rat-tail fixed that.
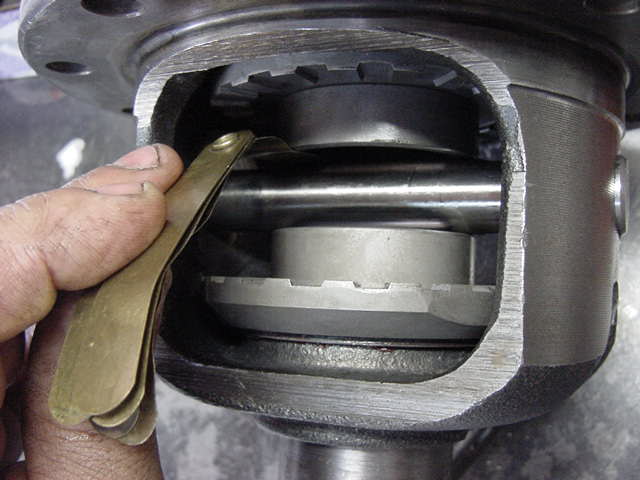
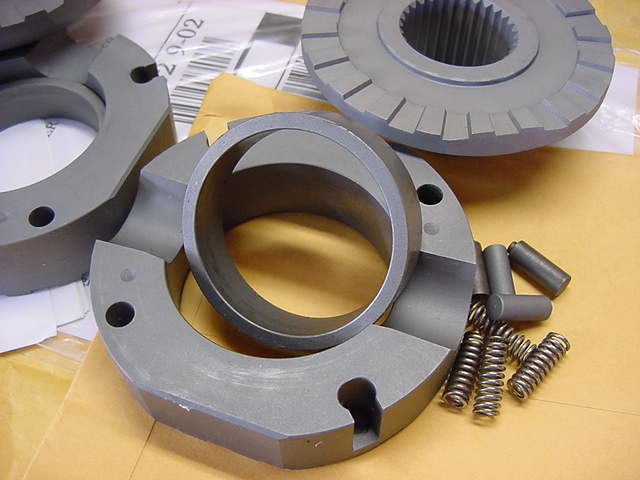
I partially assembled the locker and took a clearance
measurement. I had less than .006" so all is good.
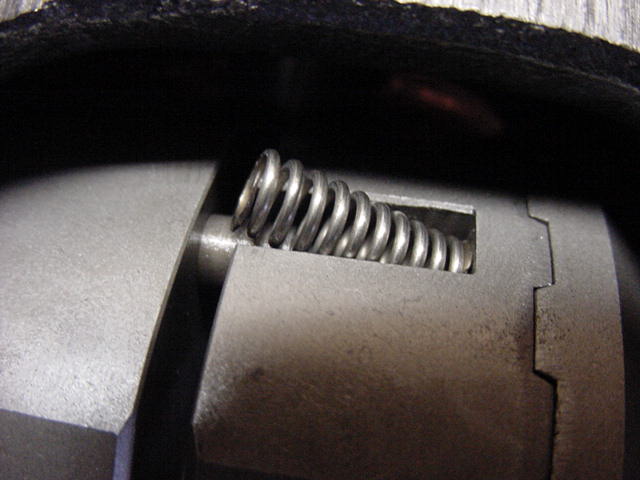
A scribe or ice-pick works nicely getting the springs in.
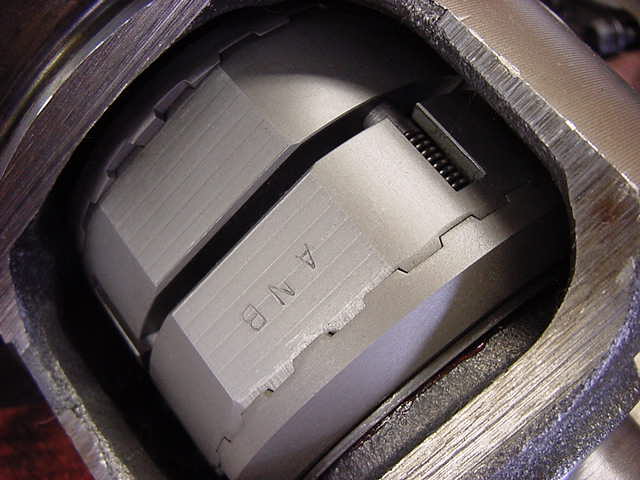
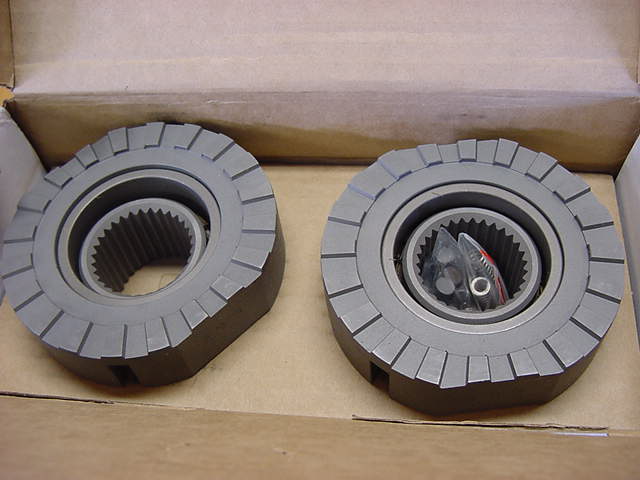
Fully assembled Aussie.
Removed any tiny burrs before installing the ring gear. This might minimize backlash variations.
Blue Loc-tite will secure the 10 ring gear bolts. 70 ft/lb torque.
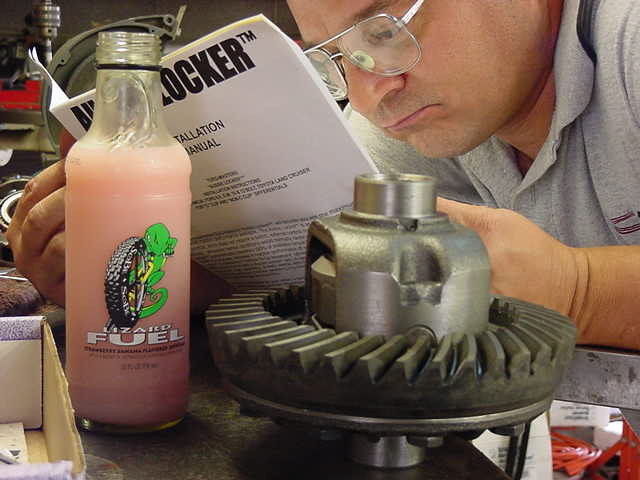
Now after installing the Aussie, I decided to read the instructions
to see if I put it in right. :)
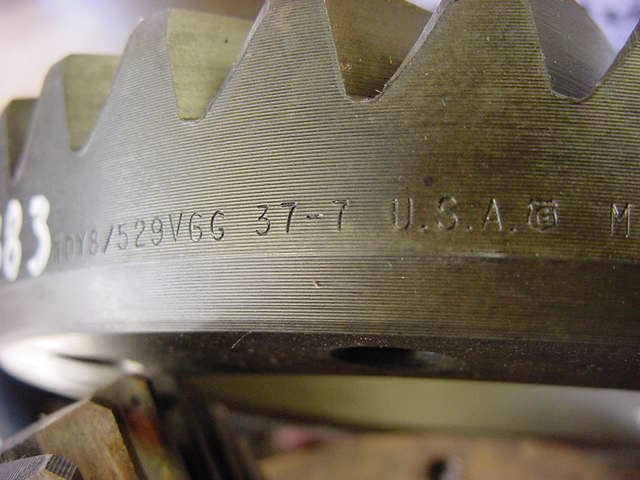
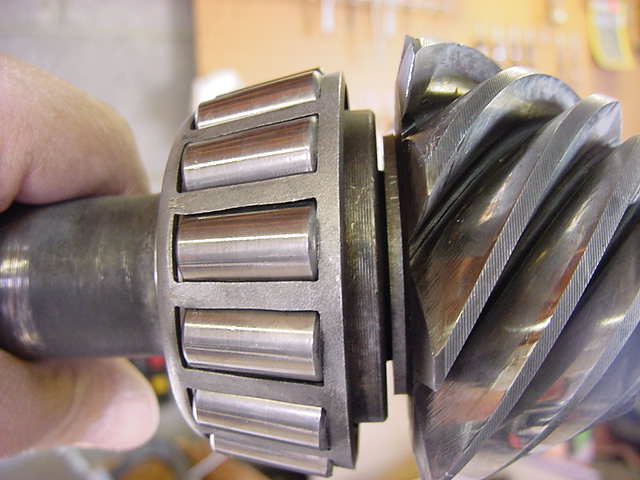
On the left is the late model 5.29 (LPH)...... the right is the early model(SPH).
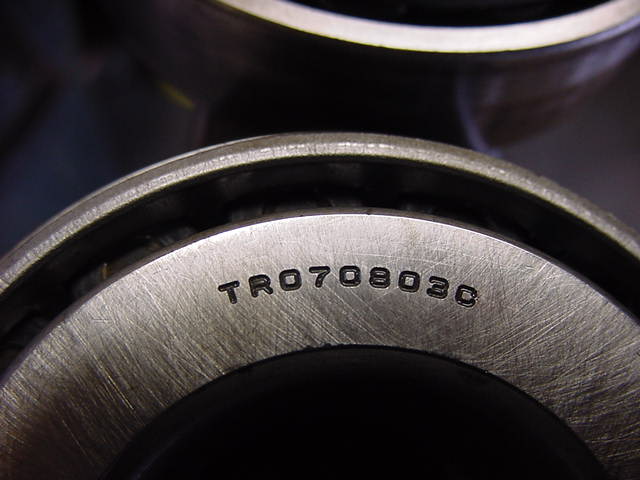
Here's the Koyo inner pinion bearing number needed to make an LPH(long pinion head) work in a early 3rd.
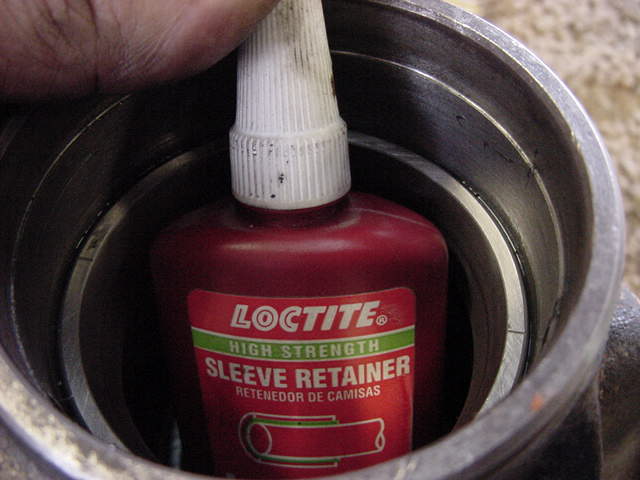
There was slight "spin" damage where the outer pinion race was located....enough wear such that I could rotate the race by hand. That situation was quickly remedied with sleeve lock. Similar to #262 red loctite but for non-threaded surfaces.
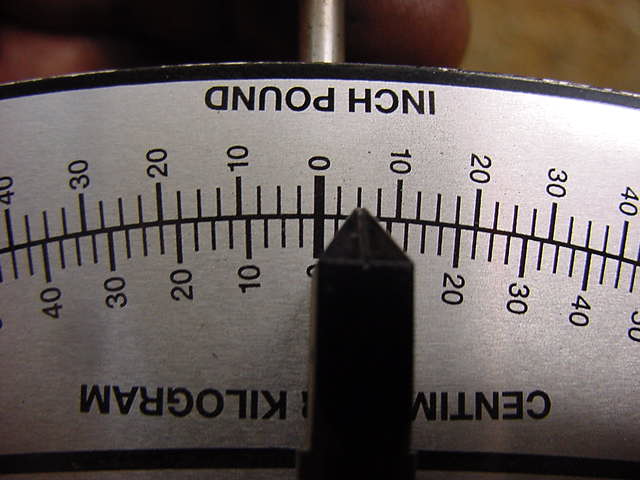
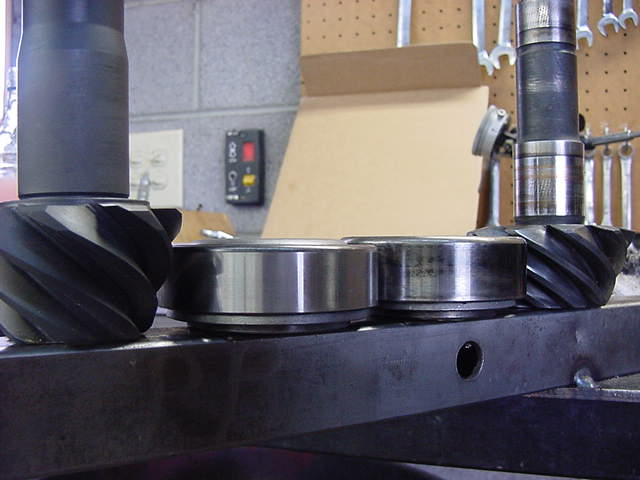
Jumping ahead here but basically started with a .100" shim behind the pinion head and pressed the inner bearing on. Then placed the pinion inside the 3rd with the SPH 4 cylinder solid collar. Normally, I would end up using about .056" worth of shims on the collar if I was installing a normal 4 cyl gearset into a normal 4 cyl 3rd. But because this is a LPH and a thin bearing in the 4 cyl 3rd, I ended up using the thinnest shim value supplied with the collar which is .010". This put me in the ballpark with 5 in/lb of pinion pre-load. See next pic.
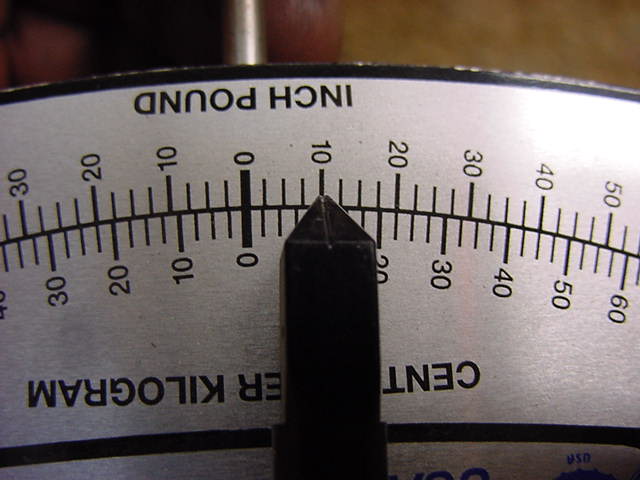
I'm probably splitting hairs but being these are new bearings, I wanted just a little more pre-load for break-in but thinner shims were not available so I evenly filed probably less than a thousandths off the solid collar itself with a large flat file. Did the trick. 10 in/lb.
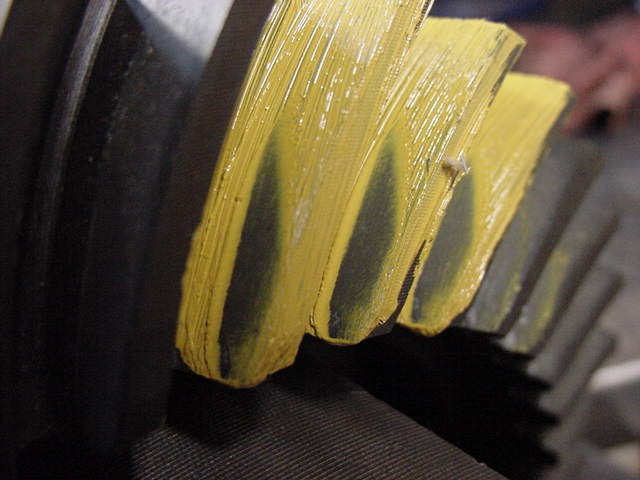
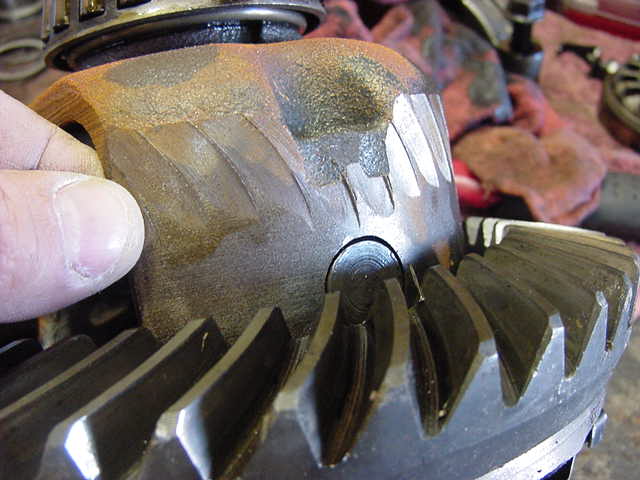
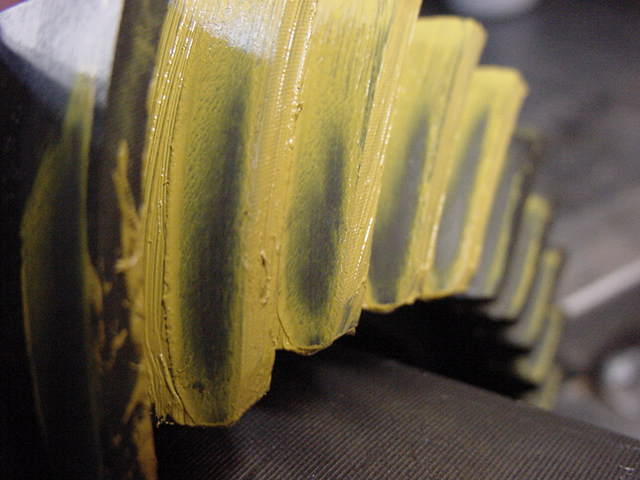
Now after re-installing the carrier into the 3rd and setting backlask to about .008 with plenty of carrier bearing pre-load, I was ready to paint the 1st pattern. This is with the .100 starter shim and the resultant shape of the half-moon says it's way too deep(too much shim).Drive side.
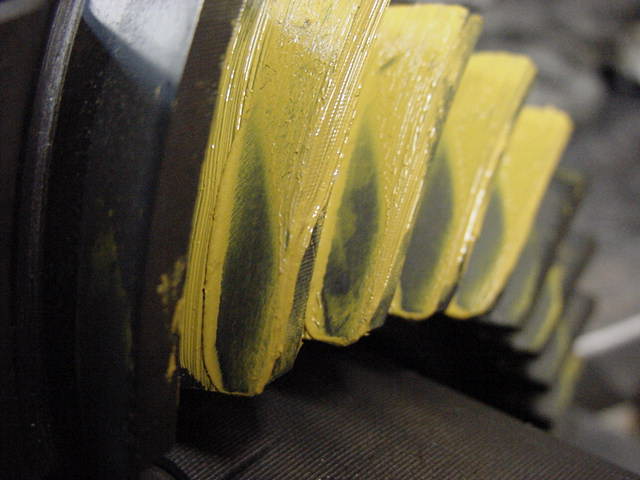
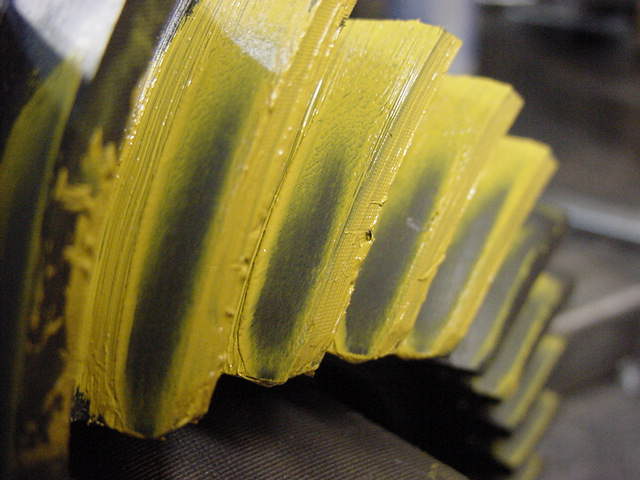
Re-shimmed to .090" and still too deep. Drive side.
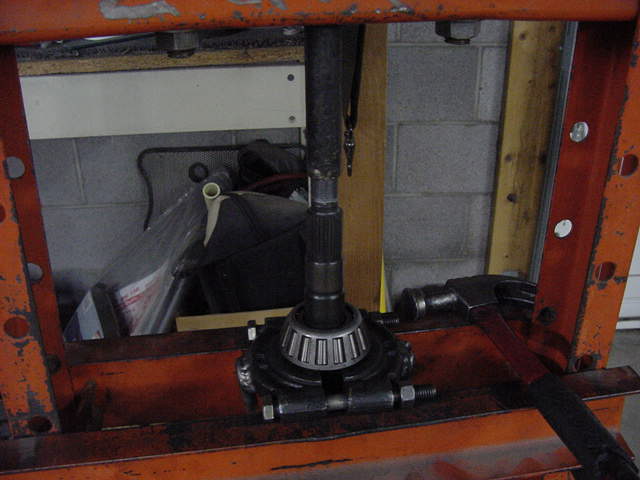
Now the actual process of changing the pinion shim itself is a grunt and physical labor process. First, take the carrier out and press out the pinion. Many times I can tap the pinion out and not damage the threads or bearing race but this one was more snug. My $99 Harbor freight 12 ton sure has been used alot over about 12 years.
Using a bearing separater here makes easy work of it.
And the reverse is done after the shim is in place.
I made a big jump and re-shimmed to .070 drive side. Now it looks a little shallow.

Sometimes, when I want more accuracy, I will use micrometers.
Now using .074. Drive side. This is just a touch shallow.
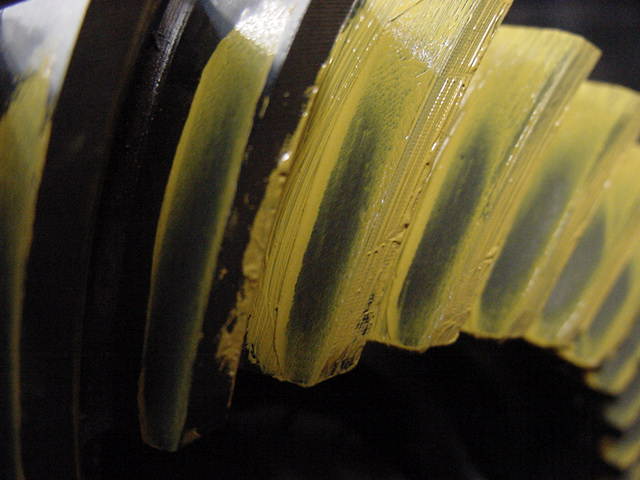
Now at .076" and this is what gives long life and a quiet ride (drive side).
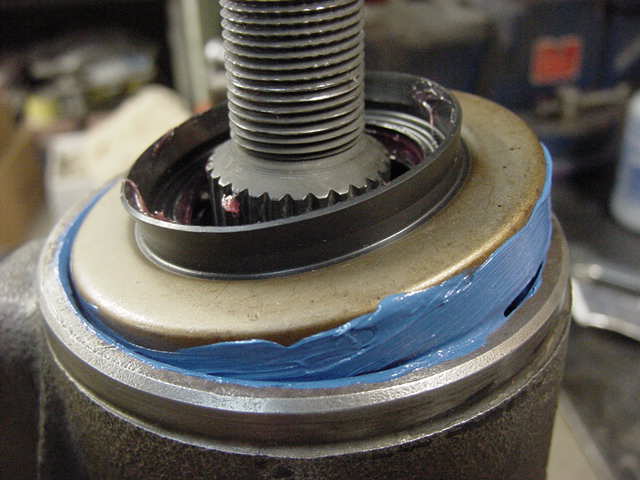
Now that the depth is set right, I can re-assemble and install the new seal this time. I use Ultra-Blue RTV here just in case. Also, some grease on the rubber seal to prevent dry start-up.
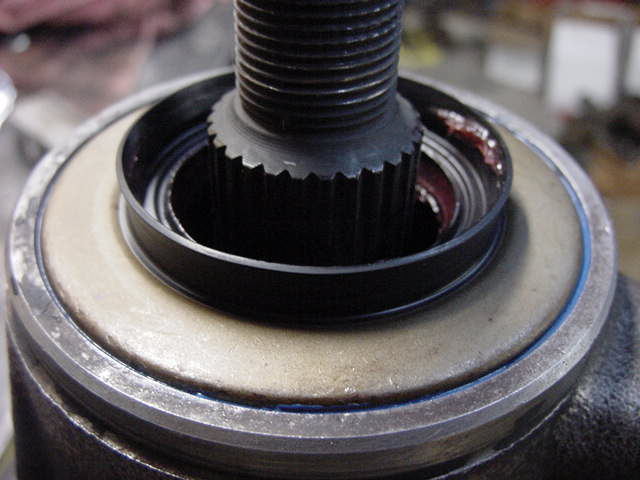
Sometimes, I can tap it down with no damage with just a hammer.....sometimes I have to use a massive socket or "that just right" sleeve to get the seal in place.
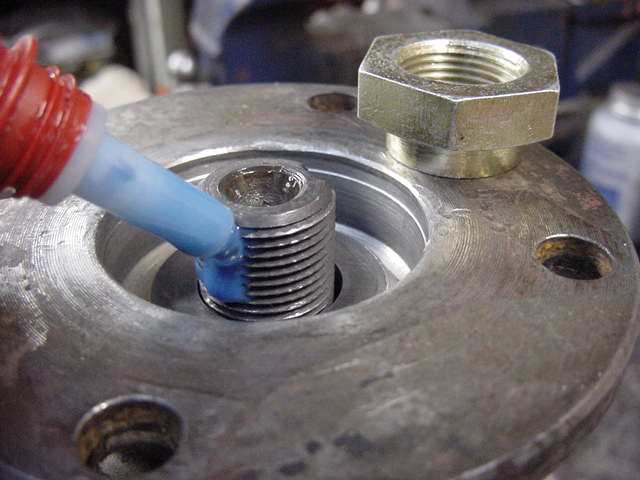
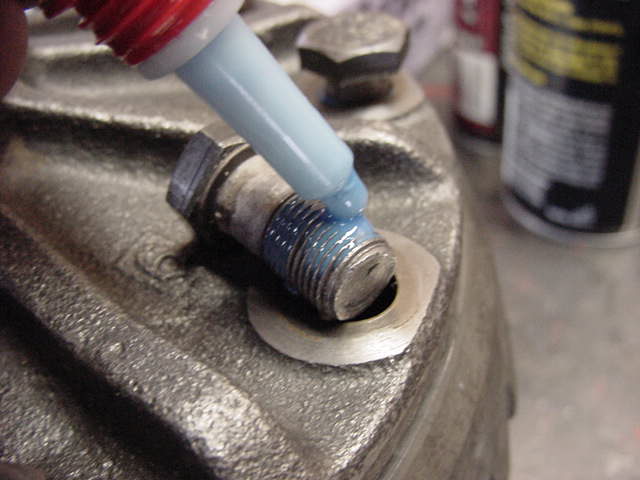
I find that plain old starter fluid is great for cleaning the grease out of the threads. Blue is an excellent choice to secure the nut.
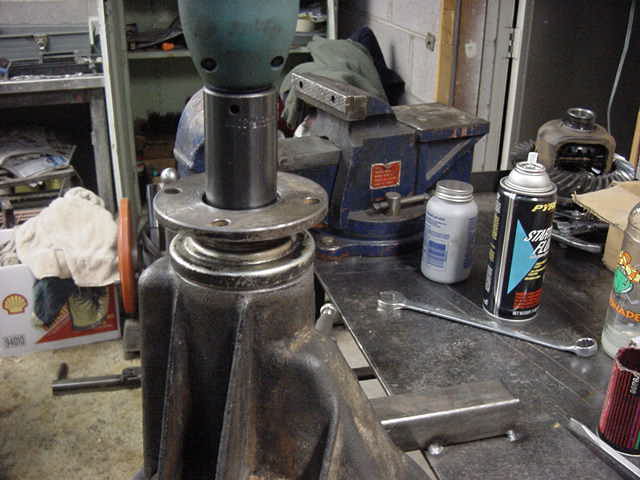
Last step. Here, I'm using my 220 ft/lb rated 6.5 amp Makita electric impact. I'm using no adapters and an actual impact type socket for maximum shock transfer. I squeeze the trigger and count to 5. Ding the lip on the nut. All done.